You can paste an image using the button on the right or with Ctrl+V.
<b>Quick Tip:</b> Drag the corners of the selection box on the image to define your crop area, then click the Apply button.
<b>Quick Tip:</b> Select your desired output format from the list and click the Apply button.
<b>Quick Tip:</b> Enter a new width or height. The other dimension will adjust automatically. Then click the Apply button.
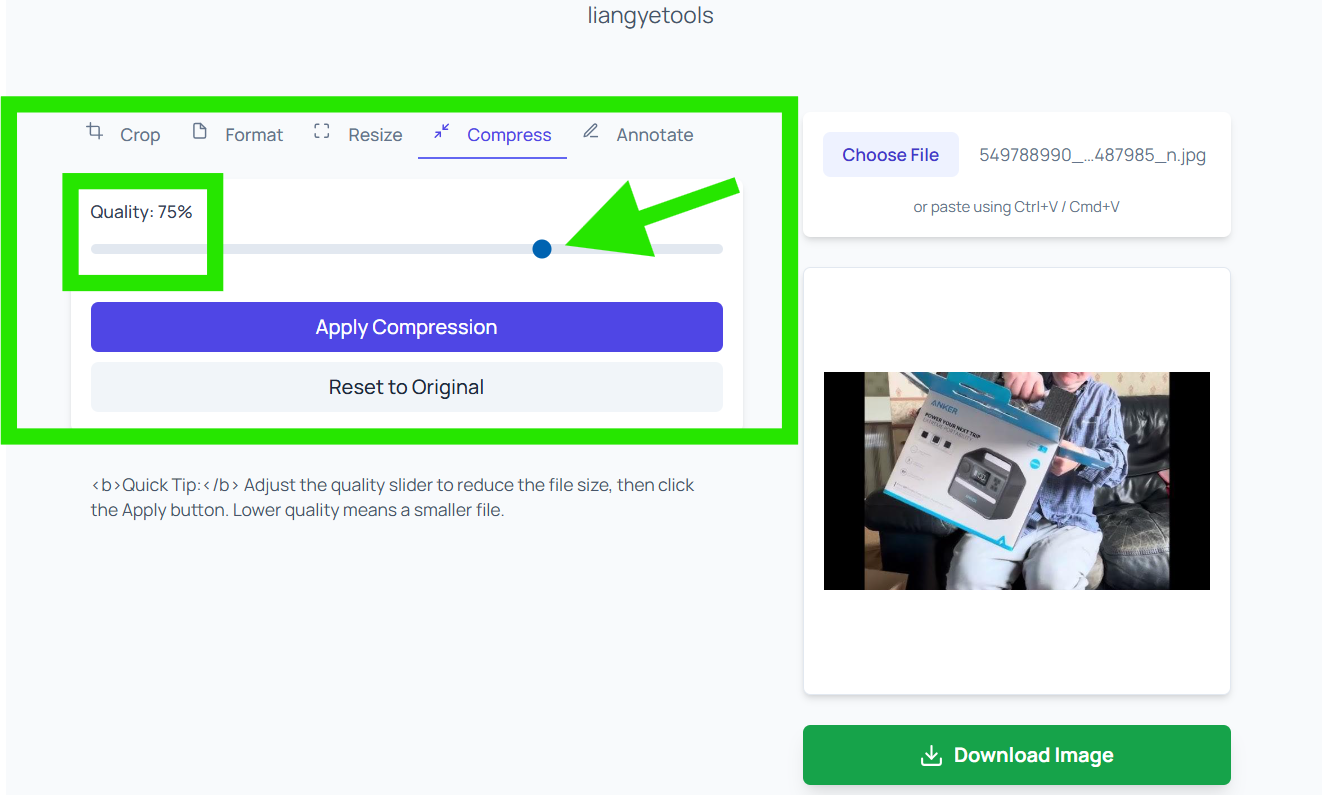
<b>Quick Tip:</b> Adjust the quality slider to reduce the file size, then click the Apply button. Lower quality means a smaller file.
<b>Quick Tip:</b> Use the tools to draw or write on the image. Click 'Apply Annotations' to save your changes to the image.
or paste using Ctrl+V / Cmd+V
Your image preview will appear here
Simple, Fast, and Private
Your images are processed in your browser. No data is ever sent to a server.
Client-Side Processing
All operations happen on your device, ensuring your photos remain private.
Multiple Tools
A wide range of tools for your basic image editing needs.
Completely Free
Enjoy all features without any cost, watermarks, or restrictions.
How to Use liangyetools.com Image Tools (Crop, Format, Resize, Compress, Annotate)
This guide shows you how to use the main image tools on liangyetools.com.
You’ll learn how to upload an image, apply edits (crop, convert format, resize, compress, and annotate),
and download the final result to your device.
Crop Tool — Cut Unwanted Areas (With Pictures)
Cropping helps you remove unwanted edges, center the subject, and create the perfect framing for
social media, websites, or documents.
Good for: removing black borders, cutting distractions, focusing on a product/face, and preparing banners.
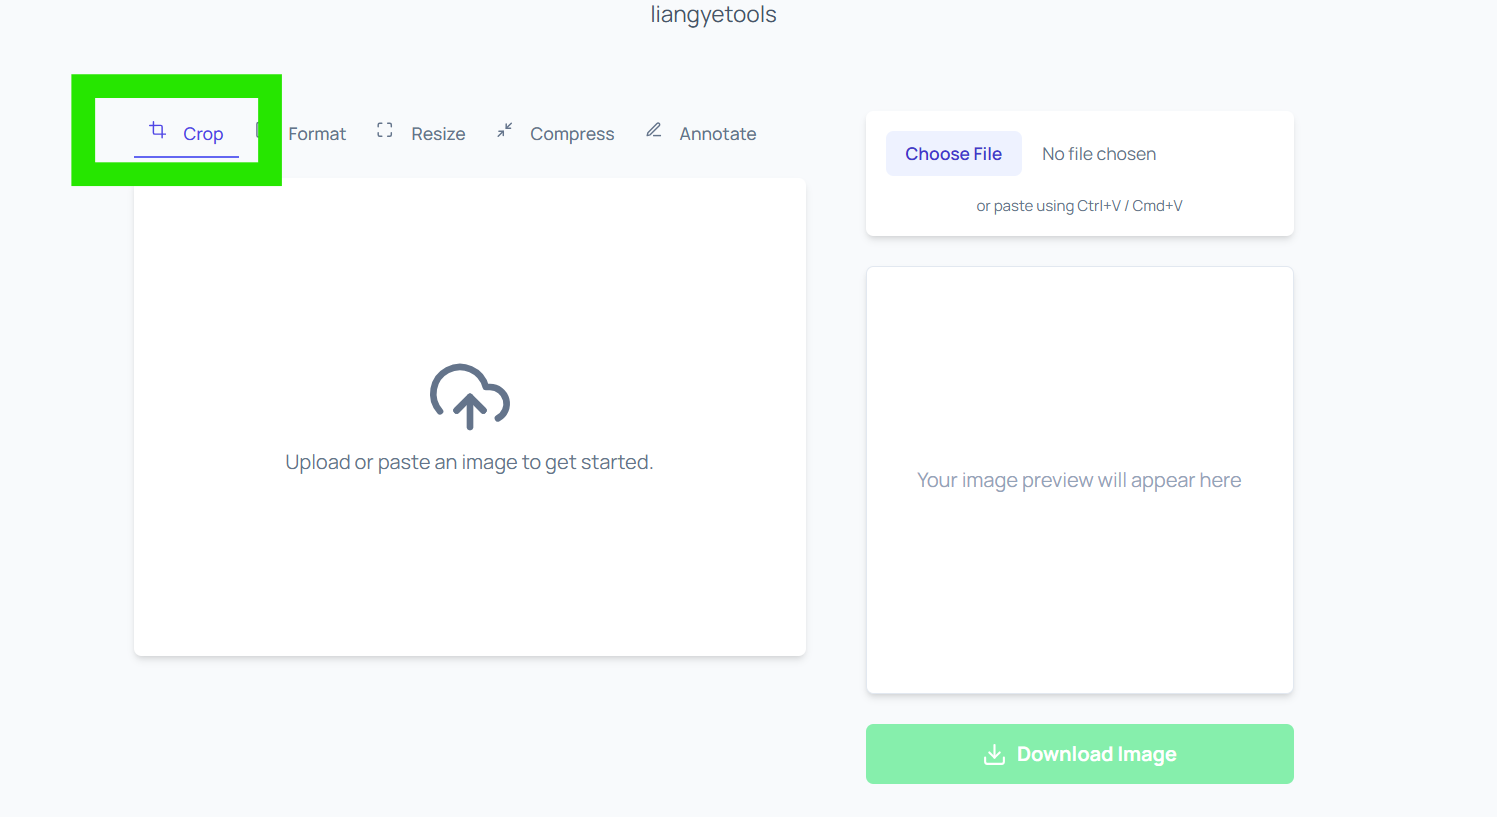
Crop — Step 1: Upload Your Image
Open the Crop tab, then upload an image:
Choose File: select an image from your device.
Paste: copy an image and paste it using Ctrl + V (Windows) or Cmd + V (Mac).
Image 1 — Start from the Crop tab and upload or paste an image.Image 2 — Click “Choose File” (or paste) to load your image.
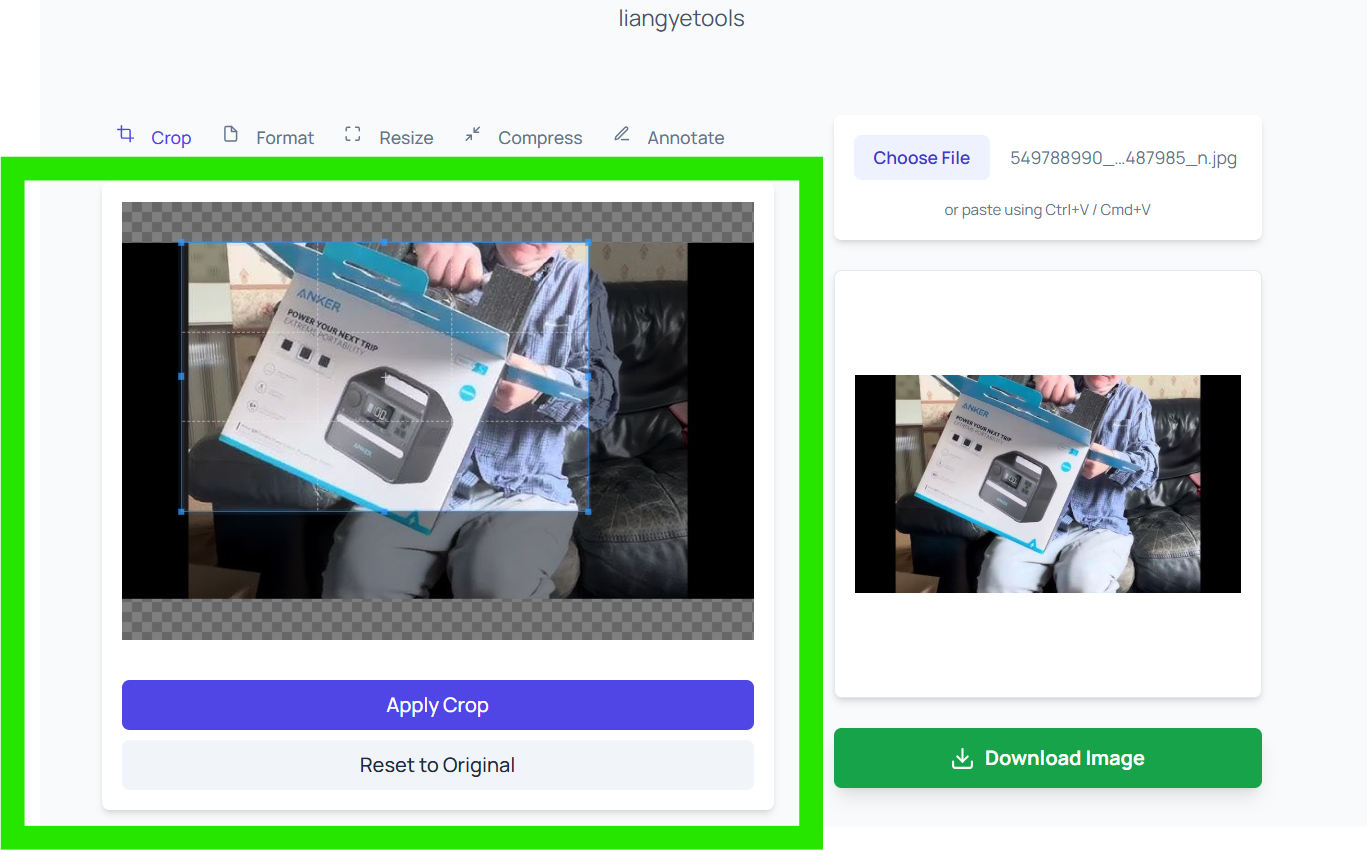
Crop — Step 2: Select the Crop Area & Apply
After the image loads, you’ll see a crop selection box. Everything inside the box stays,
and everything outside will be removed.
1Resize the selection
Drag the corners/edges to include exactly what you want to keep.
2Move the selection
Click inside the box and drag it to the best position.
3Apply or reset
Click Apply Crop to crop the image. Use Reset to Original to undo.
Image 3 — Adjust the crop box, then click “Apply Crop”.
Format Tool — Convert Image Type (PNG, JPEG, WEBP, GIF, BMP, ICO)
The Format tool converts your image to another file type.
This helps with compatibility, performance, and design needs (for example: converting PNG to JPEG,
or JPEG to WEBP for smaller size).
Quick guidance:
PNG: great for transparency and sharp graphics.
JPEG: great for photos with smaller file size.
WEBP: modern format with excellent compression for websites.
GIF: basic animations (if supported by your input/output).
ICO: favicons for websites.
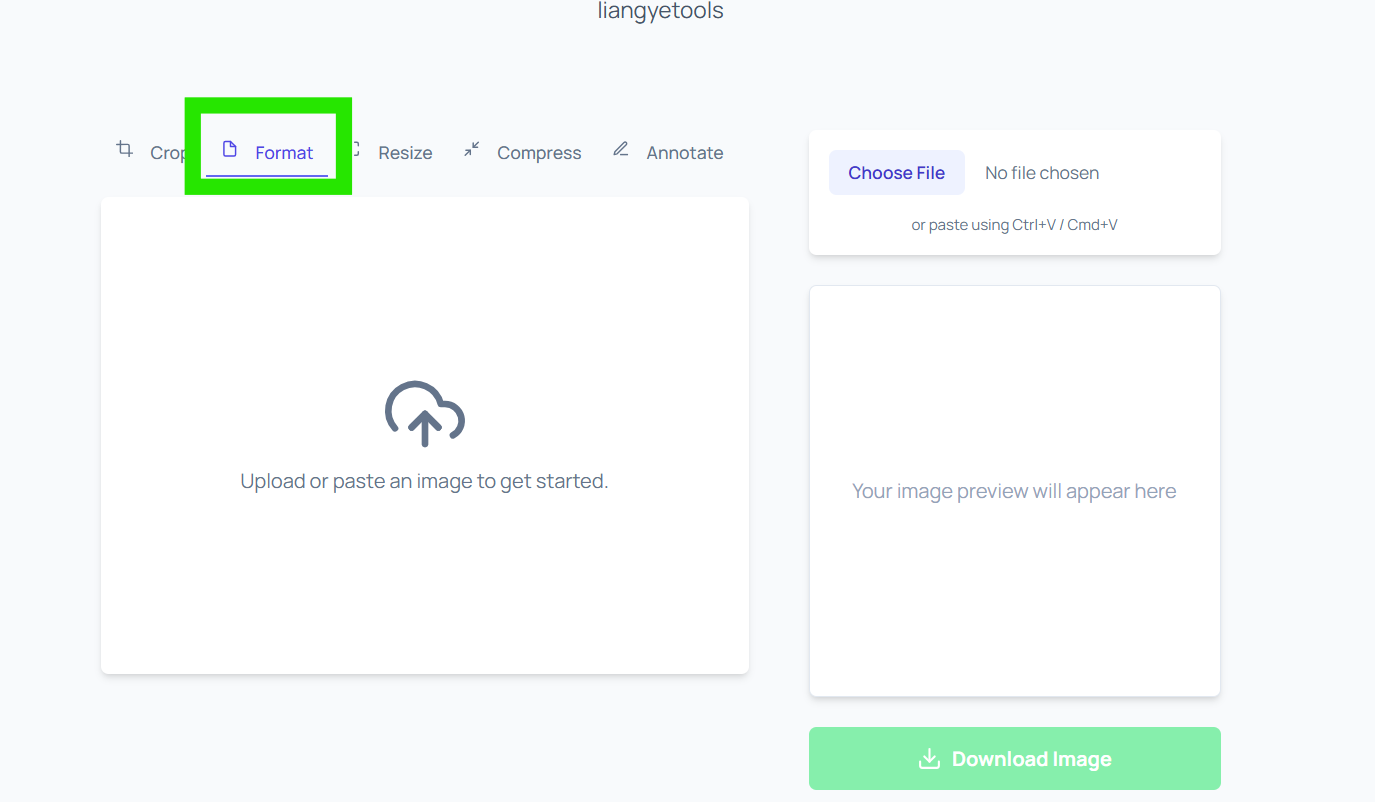
Format — Step 1: Open Format Tab
Click the Format tab from the top menu.
Image 4 — Open the “Format” tool.
Format — Step 2: Upload Your Image
Upload the image using Choose File or paste it with Ctrl + V / Cmd + V.
Image 5 — Upload an image before choosing the output format.
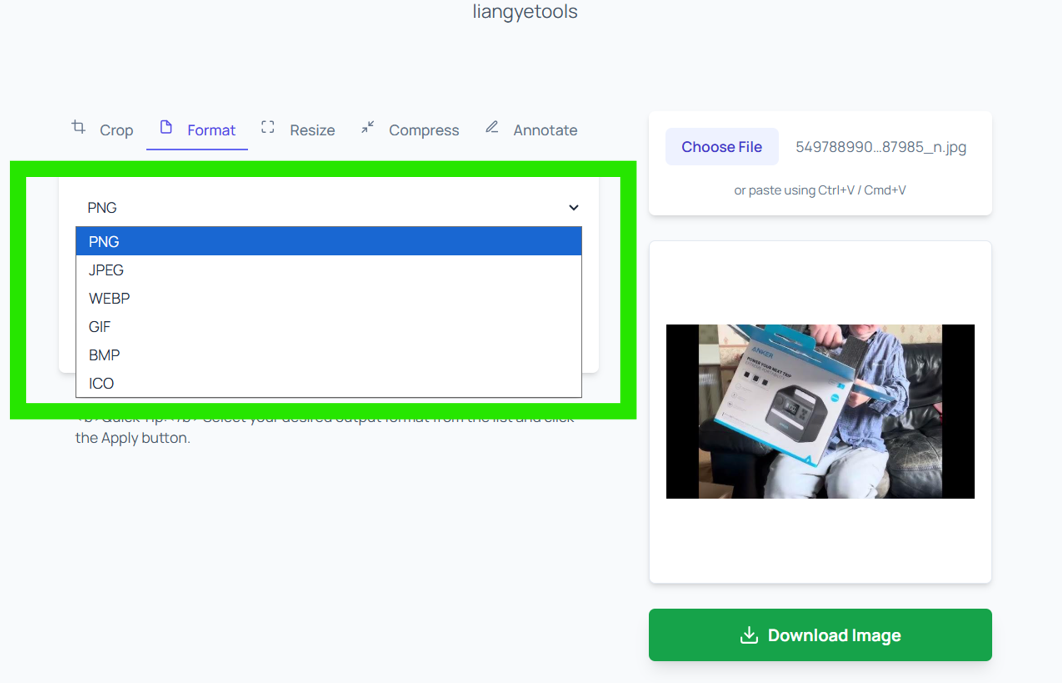
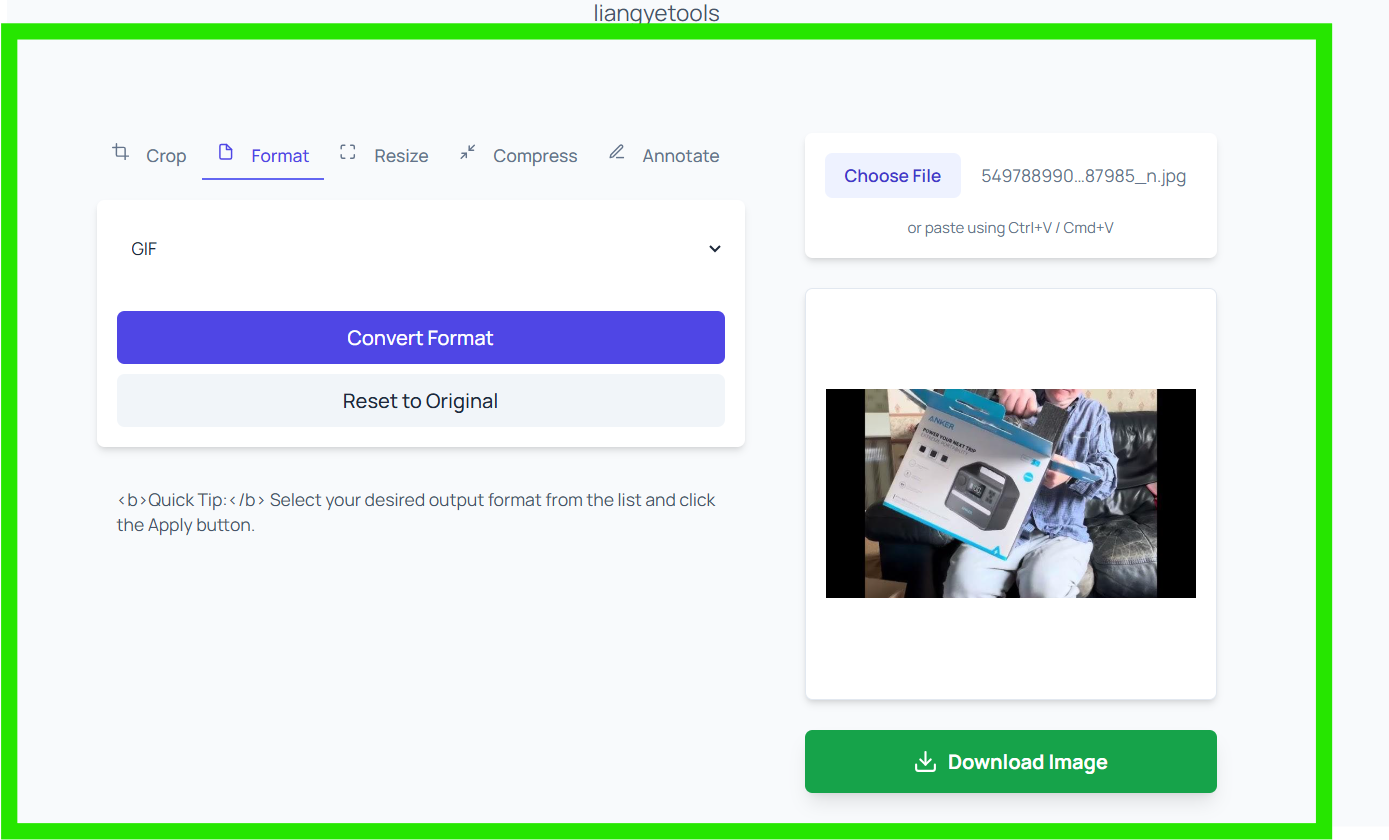
Format — Step 3: Choose Output Format
Use the dropdown to select the format you want. The list may include:
PNG, JPEG, WEBP, GIF, BMP, ICO.
1Open the dropdown
Click the arrow to show available formats.
2Select a format
Pick the format that fits your use case (e.g., WEBP for web speed).
3Convert
Click Convert Format to generate the new file.
Image 6 — Choose a format and press “Convert Format”.Image 7 — Output format list (PNG, JPEG, WEBP, GIF, BMP, ICO).
The Resize tool lets you change the image size by setting a new
width and/or height. This is useful for thumbnails, banners,
product photos, and social media sizing.
Tip: If the tool auto-adjusts the other dimension when you change one value,
it helps preserve the original aspect ratio and prevents stretching.
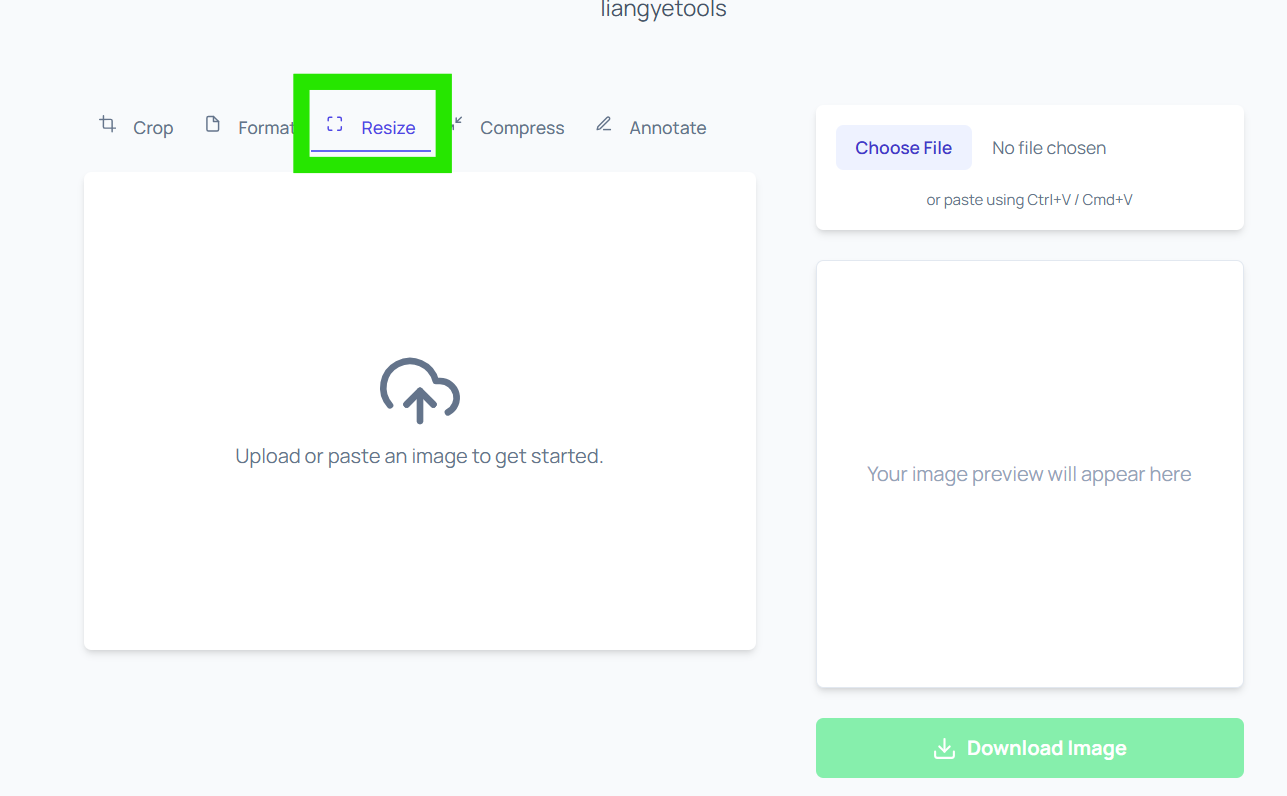
Resize — Step 1: Open Resize Tab
Click the Resize tab from the toolbar.
Image 8 — Open the “Resize” tool.
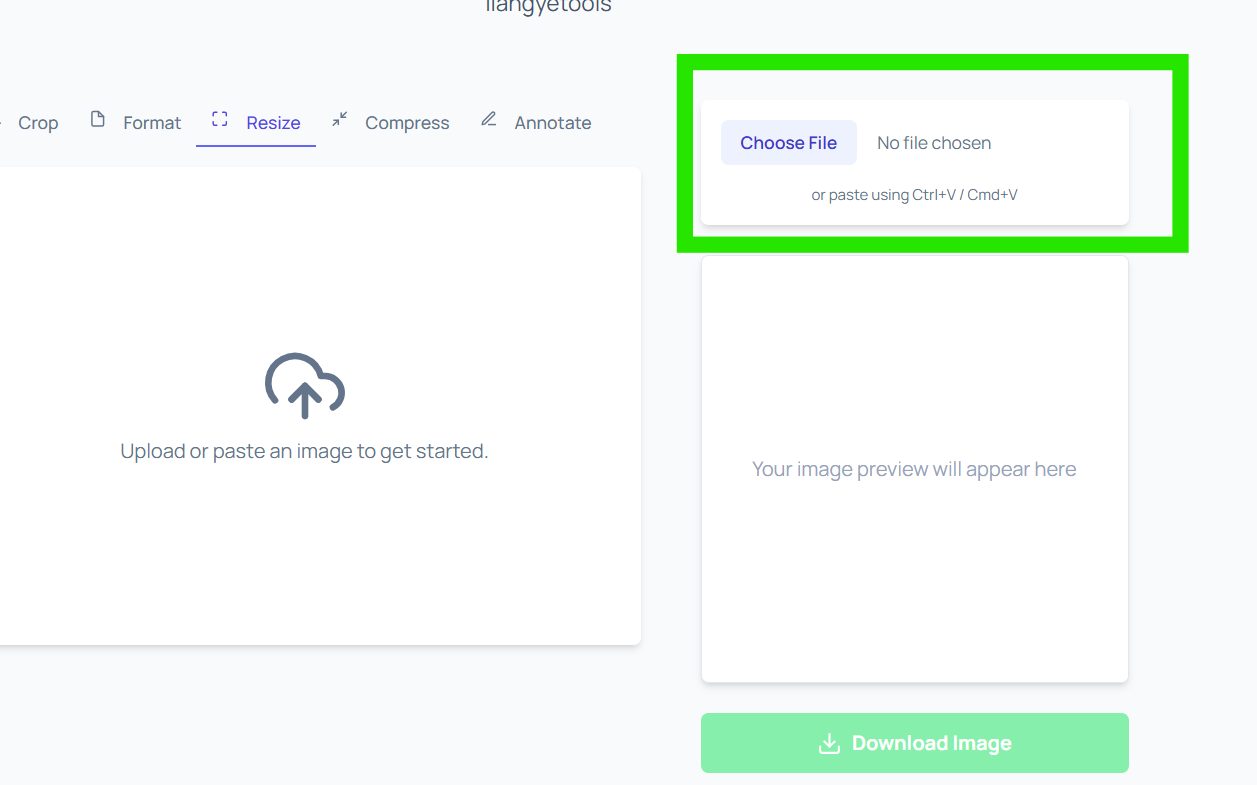
Resize — Step 2: Upload Your Image
Upload your file using Choose File or paste it with Ctrl + V / Cmd + V.
Image 9 — Upload an image to activate resizing controls.
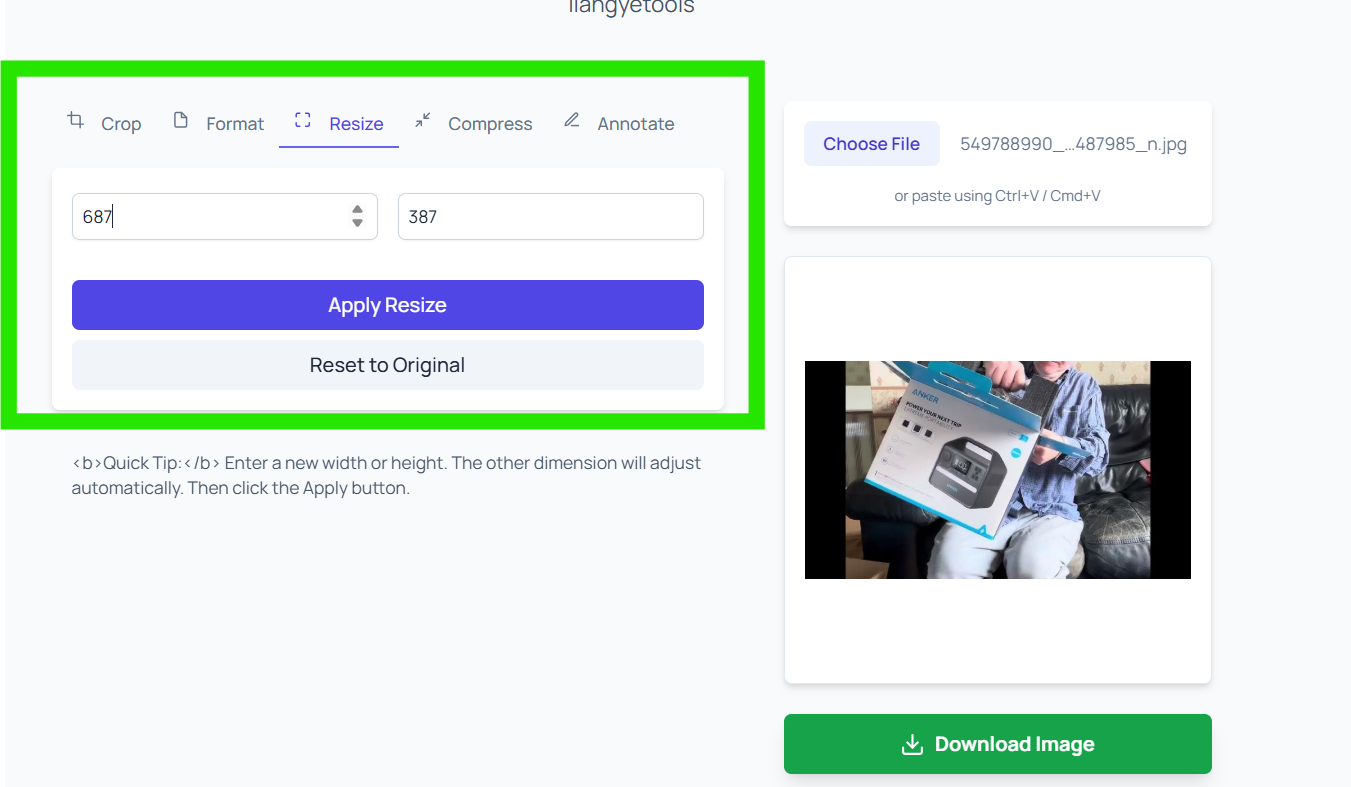
Resize — Step 3: Enter New Size & Apply
After the image loads, set your desired dimensions:
Enter a new Width or Height.
If the tool keeps aspect ratio, the other field may update automatically.
Click Apply Resize to generate the resized image.
Use Reset to Original to revert changes.
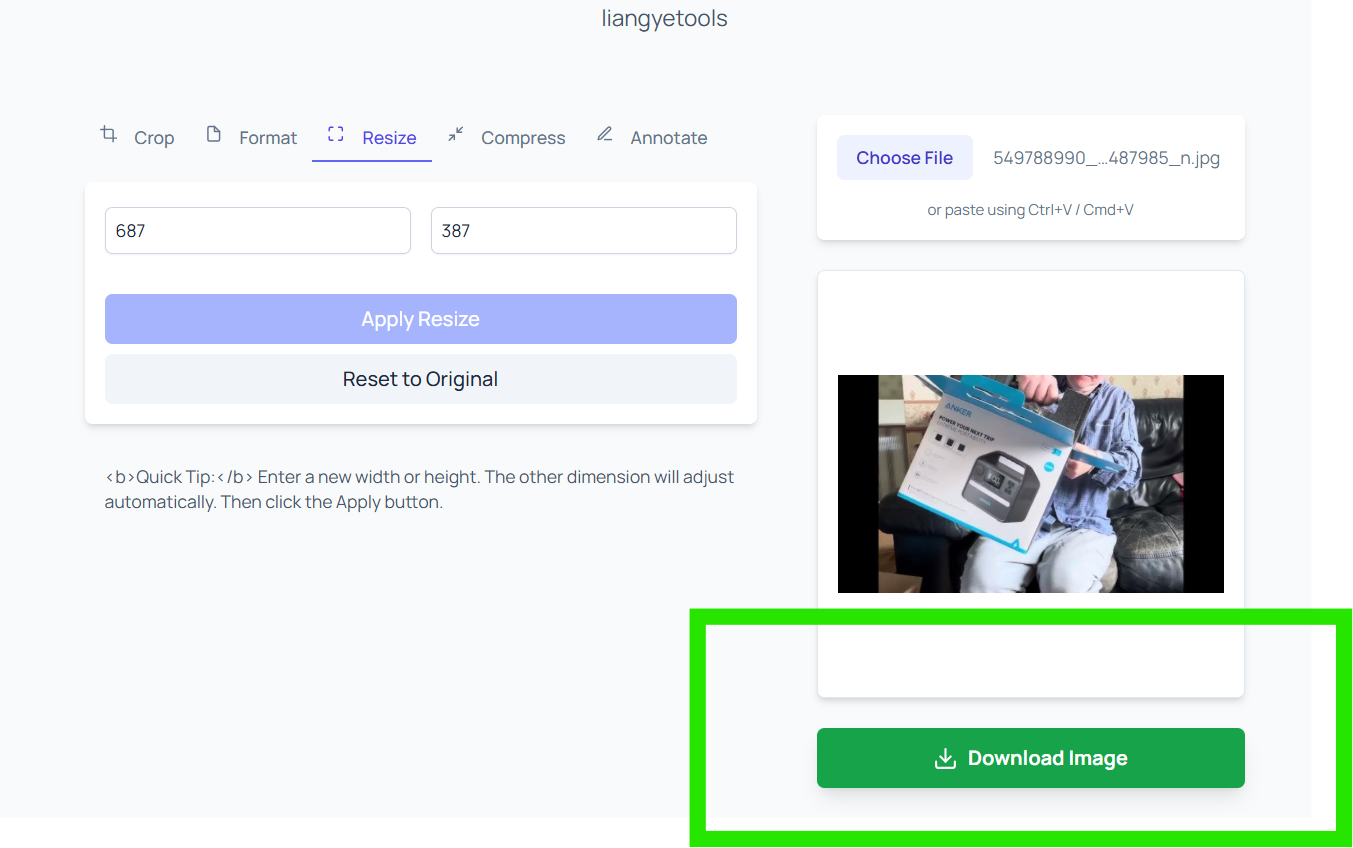
Image 10 — Set width/height, then click “Apply Resize”.Image 11 — Download the resized image using “Download Image”.
Compress Tool — Reduce File Size Using Quality Slider
The Compress tool decreases image file size by adjusting output quality.
It’s ideal for faster websites, easier sharing, and smaller uploads.
Rule of thumb: Lower quality = smaller file. For web use, 60–85% is usually a great balance.
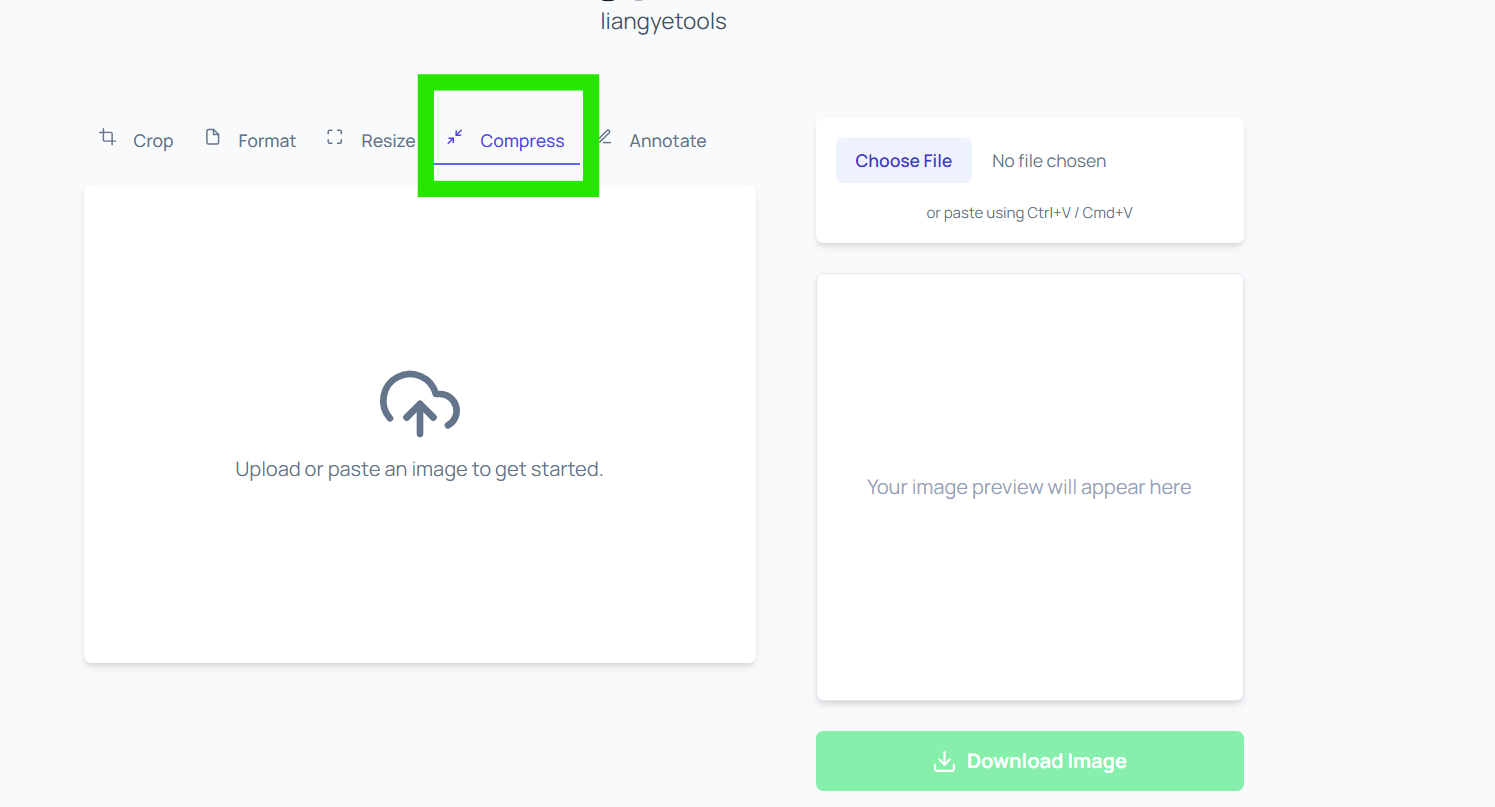
Compress — Step 1: Open Compress Tab
Click the Compress tab from the top menu.
Image 12 — Open the “Compress” tool.
Compress — Step 2: Upload Your Image
Upload your image using Choose File or paste it with Ctrl + V / Cmd + V.
Image 13 — Upload an image before changing compression settings.
Compress — Step 3: Adjust Quality & Apply
Use the Quality slider to choose how strong compression should be.
Then click Apply Compression.
Lower (30–60%): smaller file, more visible quality loss.
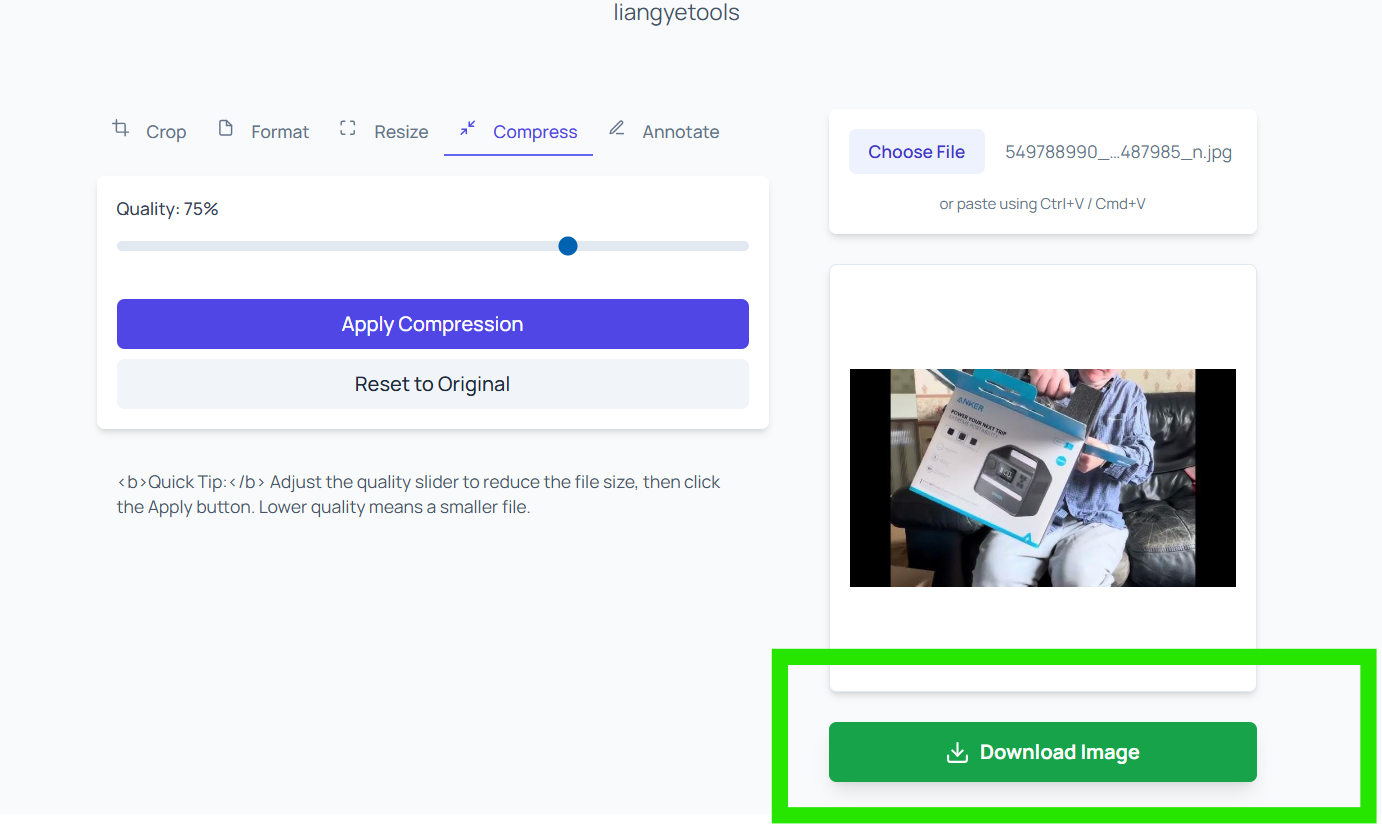
Image 14 — Adjust the quality slider and click “Apply Compression”.Image 15 — Download the compressed image to your device.
Annotate Tool — Draw & Add Text on Your Image
The Annotate tool lets you add markings on top of your image — perfect for tutorials,
highlighting areas, adding quick notes, drawing arrows, or writing text.
Great for: screenshots, product explanations, step-by-step guides, and social media callouts.
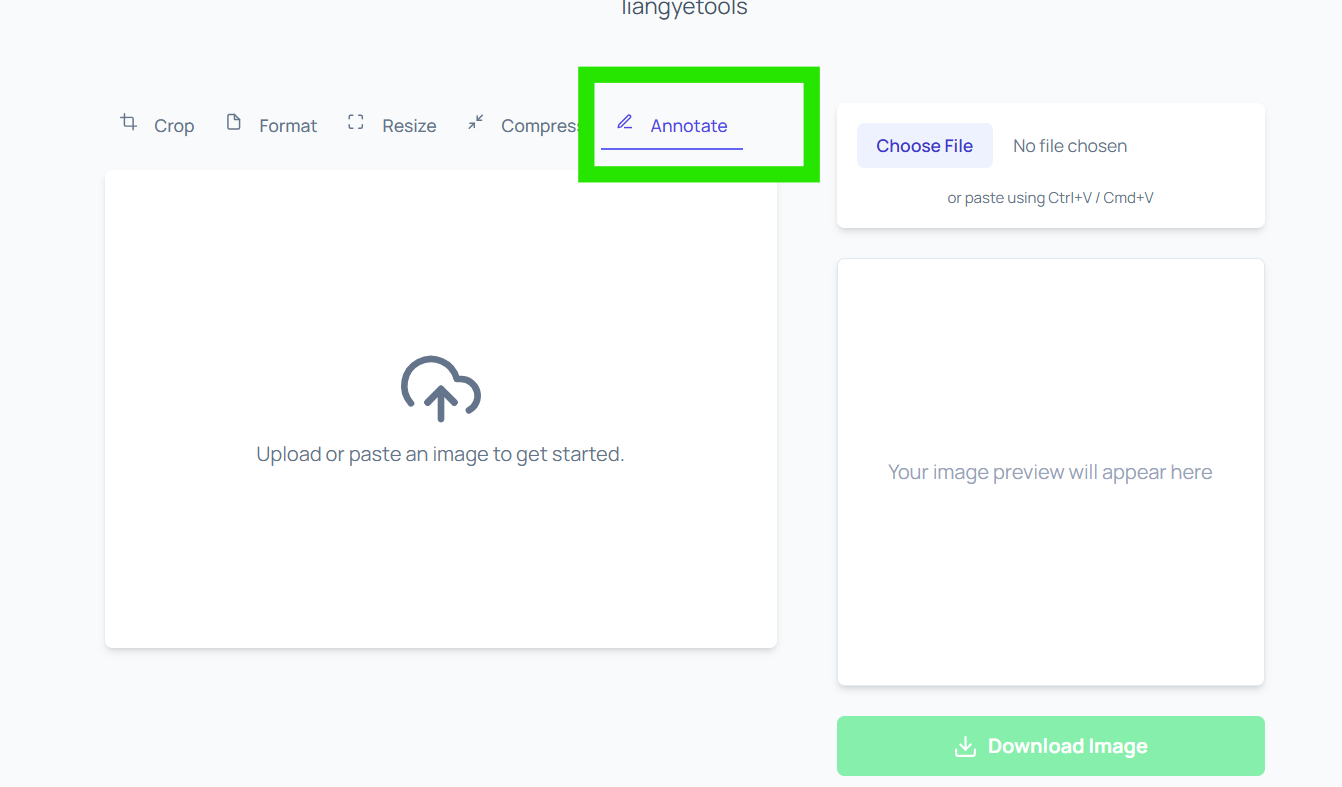
Annotate — Step 1: Open Annotate Tab
Click the Annotate tab from the toolbar.
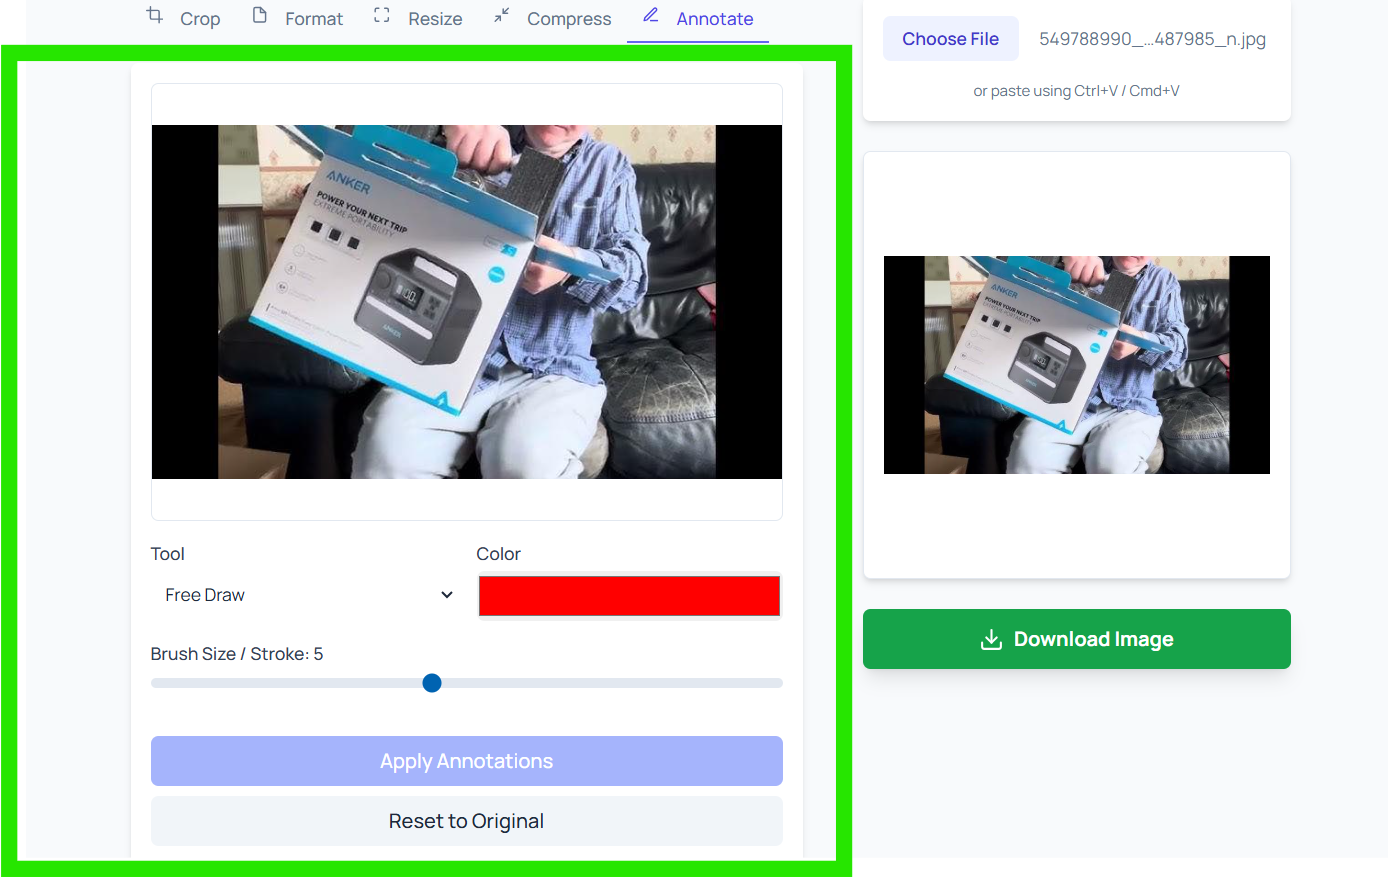
Image 16 — Open the “Annotate” tool.
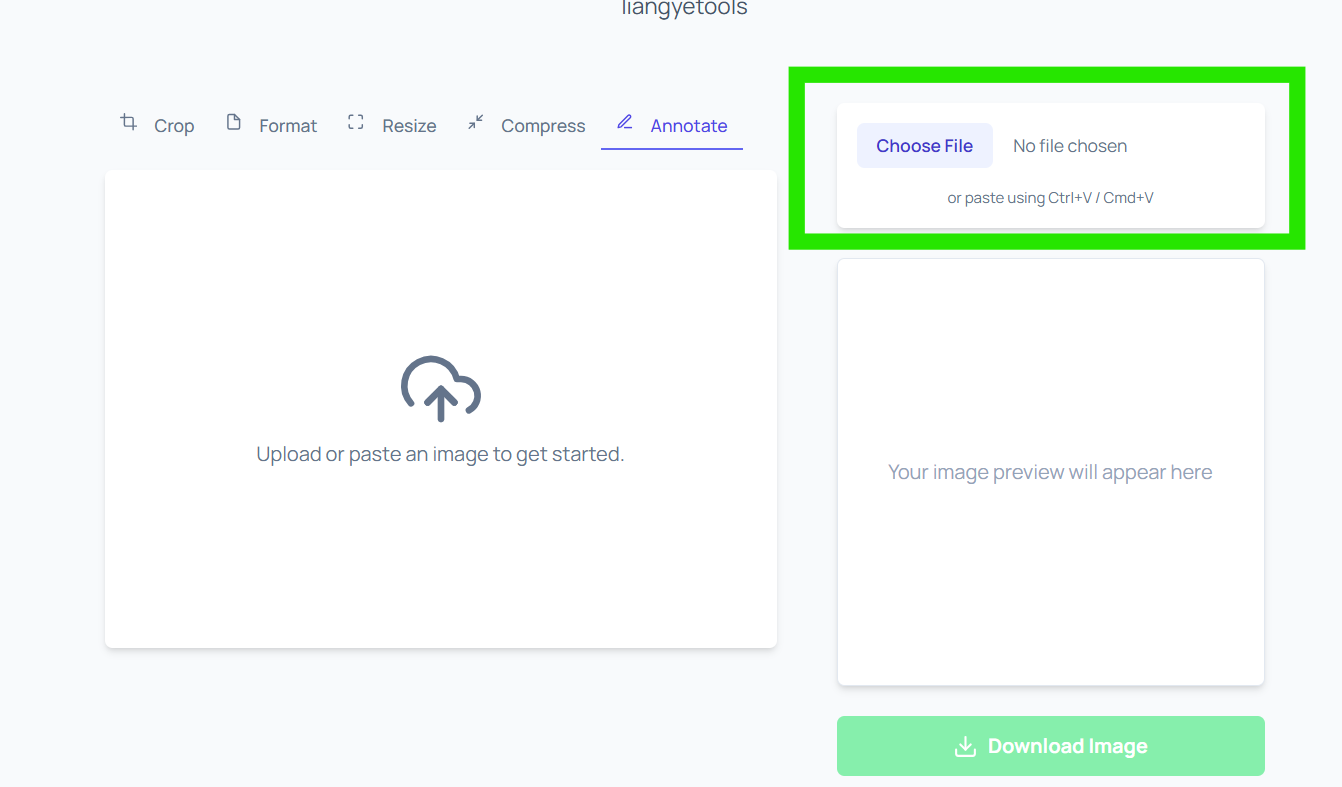
Annotate — Step 2: Upload Your Image
Upload your image using Choose File or paste it with Ctrl + V / Cmd + V.
Once uploaded, the editor and preview areas become active.
Image 17 — Upload an image to start annotating.
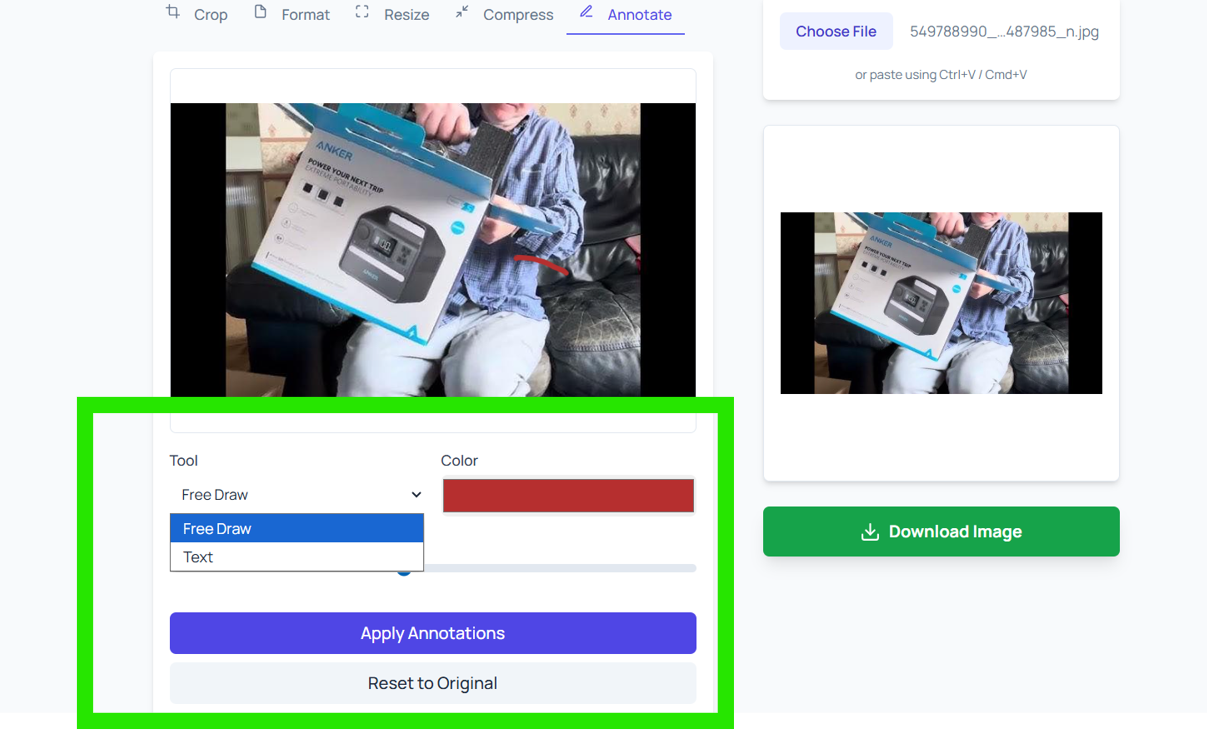
Annotate — Step 3: Choose Tool, Color, and Brush Size
After your image loads, you can configure how your annotations will look:
1Select the tool
Use the Tool dropdown to choose between
Free Draw and Text.
2Pick a color
Choose a color for your drawing/text (for example, red to highlight important areas).
3Adjust brush/stroke size
Move the Brush Size / Stroke slider to make your lines thicker or thinner.
Image 18 — Annotate controls: Tool, Color, Brush Size/Stroke, and “Apply Annotations”.Image 19 — Choose between “Free Draw” and “Text”.
Text: select Text, then click on the image where you want the text (the tool will place it at the clicked position).
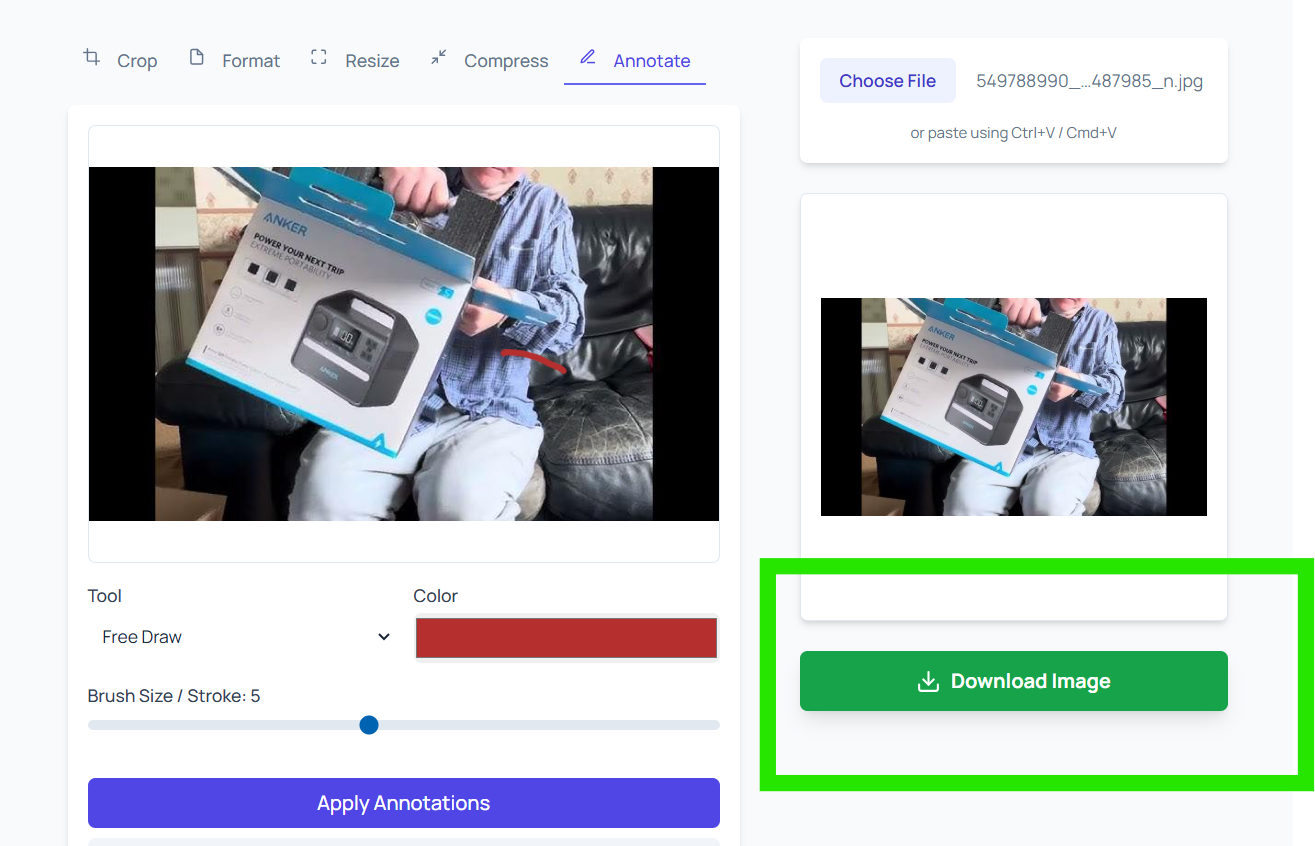
When you finish, click Apply Annotations to render the final output.
If you don’t like the result, click Reset to Original and try again.
Finally, click Download Image to save it on your device.
Image 20 — Download the annotated image using the “Download Image” button.
Download & Save — Where Your Image Goes
After using any tool (Crop / Format / Resize / Compress / Annotate), click the green
Download Image button to save the output.
Most browsers save files to your Downloads folder by default.
If your browser asks where to save, choose a folder like Desktop or Pictures.
If download doesn’t start, check your browser’s download permissions (or try another browser).
Best Workflow — The Smart Order to Use These Tools
When people edit images, they often jump between tools randomly. That works sometimes, but if you want
consistent results (good quality, small file size, correct dimensions, and a clean look), follow a simple workflow.
Think of it like preparing a photo for publishing: first you frame it, then you size it, then you optimize it,
and finally you add labels or marks if needed.
Recommended order (most common):
Crop → remove unwanted parts and frame the subject.
Resize → set the final width/height for your platform.
Compress → reduce file size while keeping quality acceptable.
Format → convert to the best file type for your goal (often WEBP for web).
Annotate → add text or drawings after everything else (so it stays sharp and positioned correctly).
Why this order works
Crop first: If you compress or resize first, you might waste effort optimizing pixels you will later remove.
Resize next: File size depends heavily on dimensions. A smaller image compresses better and loads faster.
Compress after resizing: You get a more accurate quality-to-size tradeoff because the final pixel count is set.
Format near the end: Choose the output format based on where the image will be used.
Annotate last: Text and lines should be added after resizing so they look crisp and not scaled or blurred.
Real example workflow (quick)
Imagine you have a product photo for an e-commerce store. You want it to look clean and load fast:
crop to focus on the product, resize to the store’s recommended size (like 1000px wide),
compress to reduce file size, convert to WEBP, then annotate only if you need arrows or labels.
Use Cases — When to Use Each Tool (Real Situations)
Below are practical, real-world scenarios for each tool. This section is helpful because it answers
the question: “Okay, I understand the buttons — but when should I use each tool?”
Crop: best use cases
Remove distractions: cut out messy backgrounds, unwanted objects, or empty space.
Fix framing: center the subject (face, product, document area) for a cleaner composition.
Make thumbnails: crop to focus on the important part so the image remains clear when small.
Prepare banners: crop wide for hero images or website headers (then resize if needed).
Format: best use cases
Website speed: convert JPEG/PNG to WEBP to reduce size (often dramatically).
Need transparency: convert to PNG for logos or graphics with transparent backgrounds.
Compatibility: convert to JPEG if someone can’t open your modern format.
Favicons: convert to ICO for browser tabs and bookmarks.
Resize: best use cases
Social media: match image dimensions for posts, stories, or profile banners.
Online stores: keep product images consistent so your catalog looks professional.
Email and messaging: reduce large photos so they send faster.
Web content: resize images to the maximum size they will be displayed (don’t upload huge images).
Compress: best use cases
Faster loading: smaller images improve website speed and user experience.
Better SEO performance: faster pages often lead to improved engagement (lower bounce rates).
Easy sharing: compress images so they upload quickly on WhatsApp, Telegram, and email.
Storage saving: reduce file size to save disk space and bandwidth.
Annotate: best use cases
Tutorials: add arrows, circles, or notes to guide users through steps.
Work and reports: mark areas in screenshots (bugs, UI issues, instructions).
Product highlights: add labels like “New”, “Sale”, “Feature”, or “Important”.
Education: draw quick explanations on images for students or training materials.
Quality & Formats Guide — Choose the Best Output (PNG vs JPEG vs WEBP vs GIF vs BMP vs ICO)
Picking the right format is not just a “technical detail”. It directly affects image quality, loading speed,
compatibility, and even how professional your website feels. Here’s a simple guide you can actually use.
PNG — best when you need transparency or sharp graphics
Best for: logos, icons, UI screenshots, graphics with flat colors, transparency.
Pros: can keep transparency, usually looks sharp on text and edges.
Cons: can be large for photos.
JPEG — best for photos when compatibility matters
Best for: photos, camera images, portraits, general images.
Pros: smaller than PNG for photos, widely supported everywhere.
Cons: no transparency, repeated compression can reduce quality (artifacts).
WEBP — best for websites (modern and efficient)
Best for: web images (blogs, stores, landing pages) where speed matters.
Pros: often smaller than JPEG/PNG for the same visual quality.
Cons: very old software/devices may have limited support (rare today).
GIF — best for simple animations (if supported)
Best for: short, simple animations, stickers, basic motion graphics.
Pros: widely recognized for animation.
Cons: limited colors compared to modern formats; file sizes can get large.
BMP — usually not recommended for web
Best for: special cases, legacy workflows.
Pros: simple and uncompressed in many cases.
Cons: huge files; not ideal for the internet.
ICO — for favicons and browser icons
Best for: website favicons (tab icon).
Tip: If you’re making a favicon, start with a square image (like 512×512),
then convert to ICO.
Quick decision:
If it’s a photo → start with JPEG or WEBP.
If it needs transparent background → use PNG (or WEBP if transparency supported).
If it’s for a website and you want speed → use WEBP.
Resizing looks simple (type width and height, press apply), but many people get poor results because of
aspect ratio, platform requirements, or choosing the wrong target size. Here’s how to resize properly.
1) Understand aspect ratio (so your image does not look stretched)
Aspect ratio is the relationship between width and height. If you change both values without keeping that relationship,
the image can look “fat” or “tall”. When a tool auto-adjusts one dimension, it is trying to preserve the aspect ratio.
Simple rule: If you reduce width by 50%, reduce height by 50% too (unless you intentionally want a new shape).
2) Choose a target size based on where the image will be used
Blog images: 1200px wide is common for high-quality blog headers.
Product photos: 800–1500px wide depending on your store layout.
Thumbnails: 300–600px wide (focus on subject with crop first).
Social posts: resize based on the platform, then crop if needed for exact framing.
3) Avoid making small images bigger
Enlarging (upscaling) can make images blurry because the tool must “invent” new pixels.
If you must enlarge, do it carefully and expect quality loss.
Compression Deep Dive — How to Choose the Right Quality (Without Ruining the Image)
Compression is one of the most valuable steps for websites and sharing. But people often go too far
and end up with ugly artifacts (blocky details, weird edges, and “muddy” textures). Here’s how to get it right.
What “Quality” really means
The quality slider balances file size and visual detail. Higher quality keeps more detail but produces bigger files.
Lower quality removes more detail and creates smaller files. The “best” value depends on the image type and where it will be used.
Recommended quality ranges
90–100%: almost original look, larger file (use for important photos or print).
75–90%: excellent for most photos; good balance (often ideal).
60–75%: strong compression; great for websites if the image still looks clean.
40–60%: aggressive; use only if size is critical and quality loss is acceptable.
Where compression artifacts show up first
Text on images: edges can become blurry.
Skin tones: can look “plastic” at low quality.
Fine textures: hair, fabric, grass may become messy.
Best practice: For websites, try 75% first. If the image still looks good, you can try 70% or 65%.
Always check the preview before downloading.
Annotate Like a Pro — Make Your Notes Clear and Professional
Annotations can make a screenshot or tutorial extremely easy to follow — or extremely confusing if done badly.
Here’s how to annotate in a clean and professional way.
Keep text away from the edges (safe area) so it doesn’t get cut off in some viewers.
Use short labels: “Step 1”, “Click here”, “Important”.
If you need a long explanation, use the article text, not the image.
Troubleshooting — Common Problems and How to Fix Them
If something doesn’t work, it’s usually a simple issue (browser permissions, unsupported format, or a very large file).
Here are the most common problems and quick fixes.
Problem: “Download Image” does not start
Check if your browser blocked downloads (look for a download icon or warning near the address bar).
Try another browser (Chrome, Edge, Firefox).
Disable strict download blockers or extensions temporarily.
Problem: The image preview is blank
Try uploading the image again (sometimes the first upload fails).
Make sure the file is a valid image (PNG/JPEG/WEBP).
If the image is huge (very high resolution), try resizing first or use a smaller file.
Problem: The result looks blurry after resizing
Don’t enlarge small images too much.
Resize in smaller steps if needed (e.g., 4000px → 2000px → 1200px).
Annotate after resizing, not before.
Problem: Compression made the image look bad
Increase quality (try 80% or 85%).
Convert to WEBP for web use (often smaller at similar quality).
For images with text, avoid very low quality values.
Problem: Format conversion changes transparency
If your image needs transparency, choose PNG (or a transparency-capable format).
JPEG does not support transparency (transparent areas may become white or black).
FAQ
Do these tools upload my images to a server?
It depends on how the website is built. If your tool runs in the browser (client-side),
your image may stay on your device. If the tool uses a backend, it may upload temporarily for processing.
Which format should I choose for my website?
In most cases, WEBP is the best choice for websites because it offers great quality with smaller file sizes.
Use PNG when you need transparency, and JPEG for normal photos when compatibility matters.
How do I avoid stretched images when resizing?
Keep the aspect ratio consistent. If your tool auto-adjusts the second dimension, it helps prevent stretching.
Otherwise, calculate sizes proportionally (e.g., if you reduce width by 50%, reduce height by 50% too).
What’s the best compression quality?
For web images, 60–85% usually looks good and reduces size significantly.
For important photos or printing, keep quality higher (80–95%).
Summary — What You Can Do on liangyetools.com
Using liangyetools.com, you can complete the most common image tasks in a simple workflow:
crop to improve framing, convert formats for compatibility and web performance, resize to match platform requirements,
compress to reduce file size, and annotate to create clear tutorials and highlights. After each action,
download the final image with one click.
Best quick workflow: Crop → Resize → Compress → Format → Annotate → Download.